The Cordings Mackintosh: Hand made since 1843
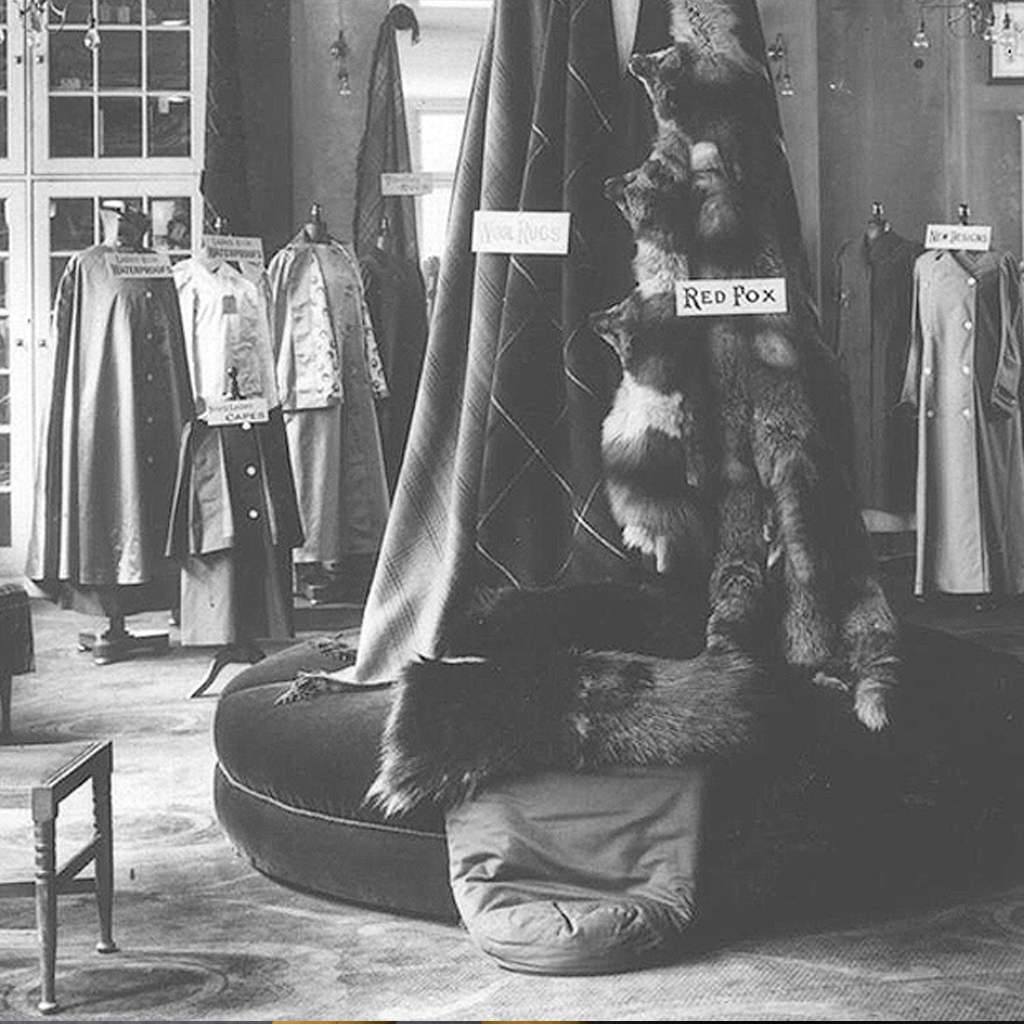
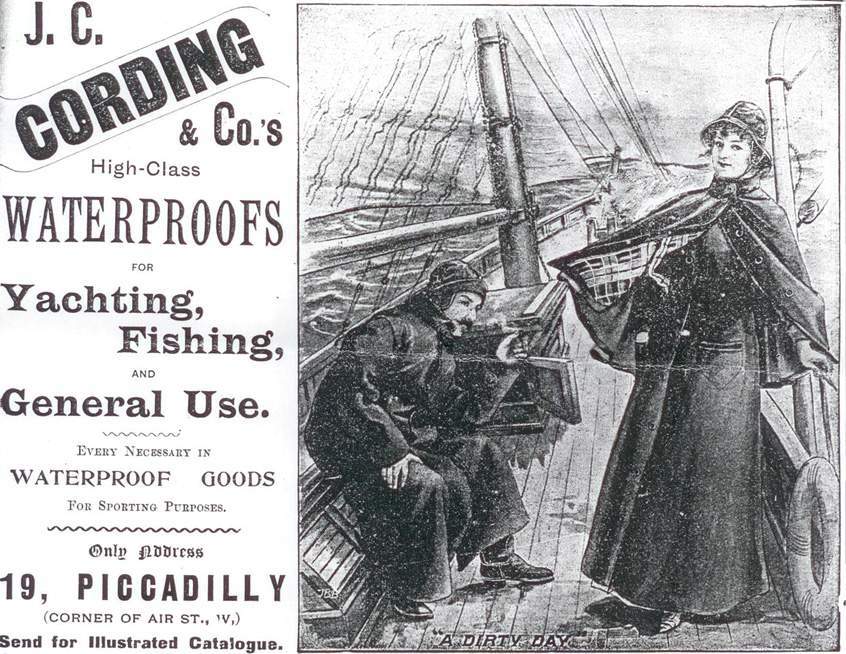
Waterproofers to the King is the headline in a Cordings advertisement in 1916 referring to “nautical and sporting waterproofers and tailors”, and lists such items as “the new dreadnought coat – warranted to resist the effects of any climate” and “sheet India rubber fishing boots”.
The Birth of the Cordings Mackintosh
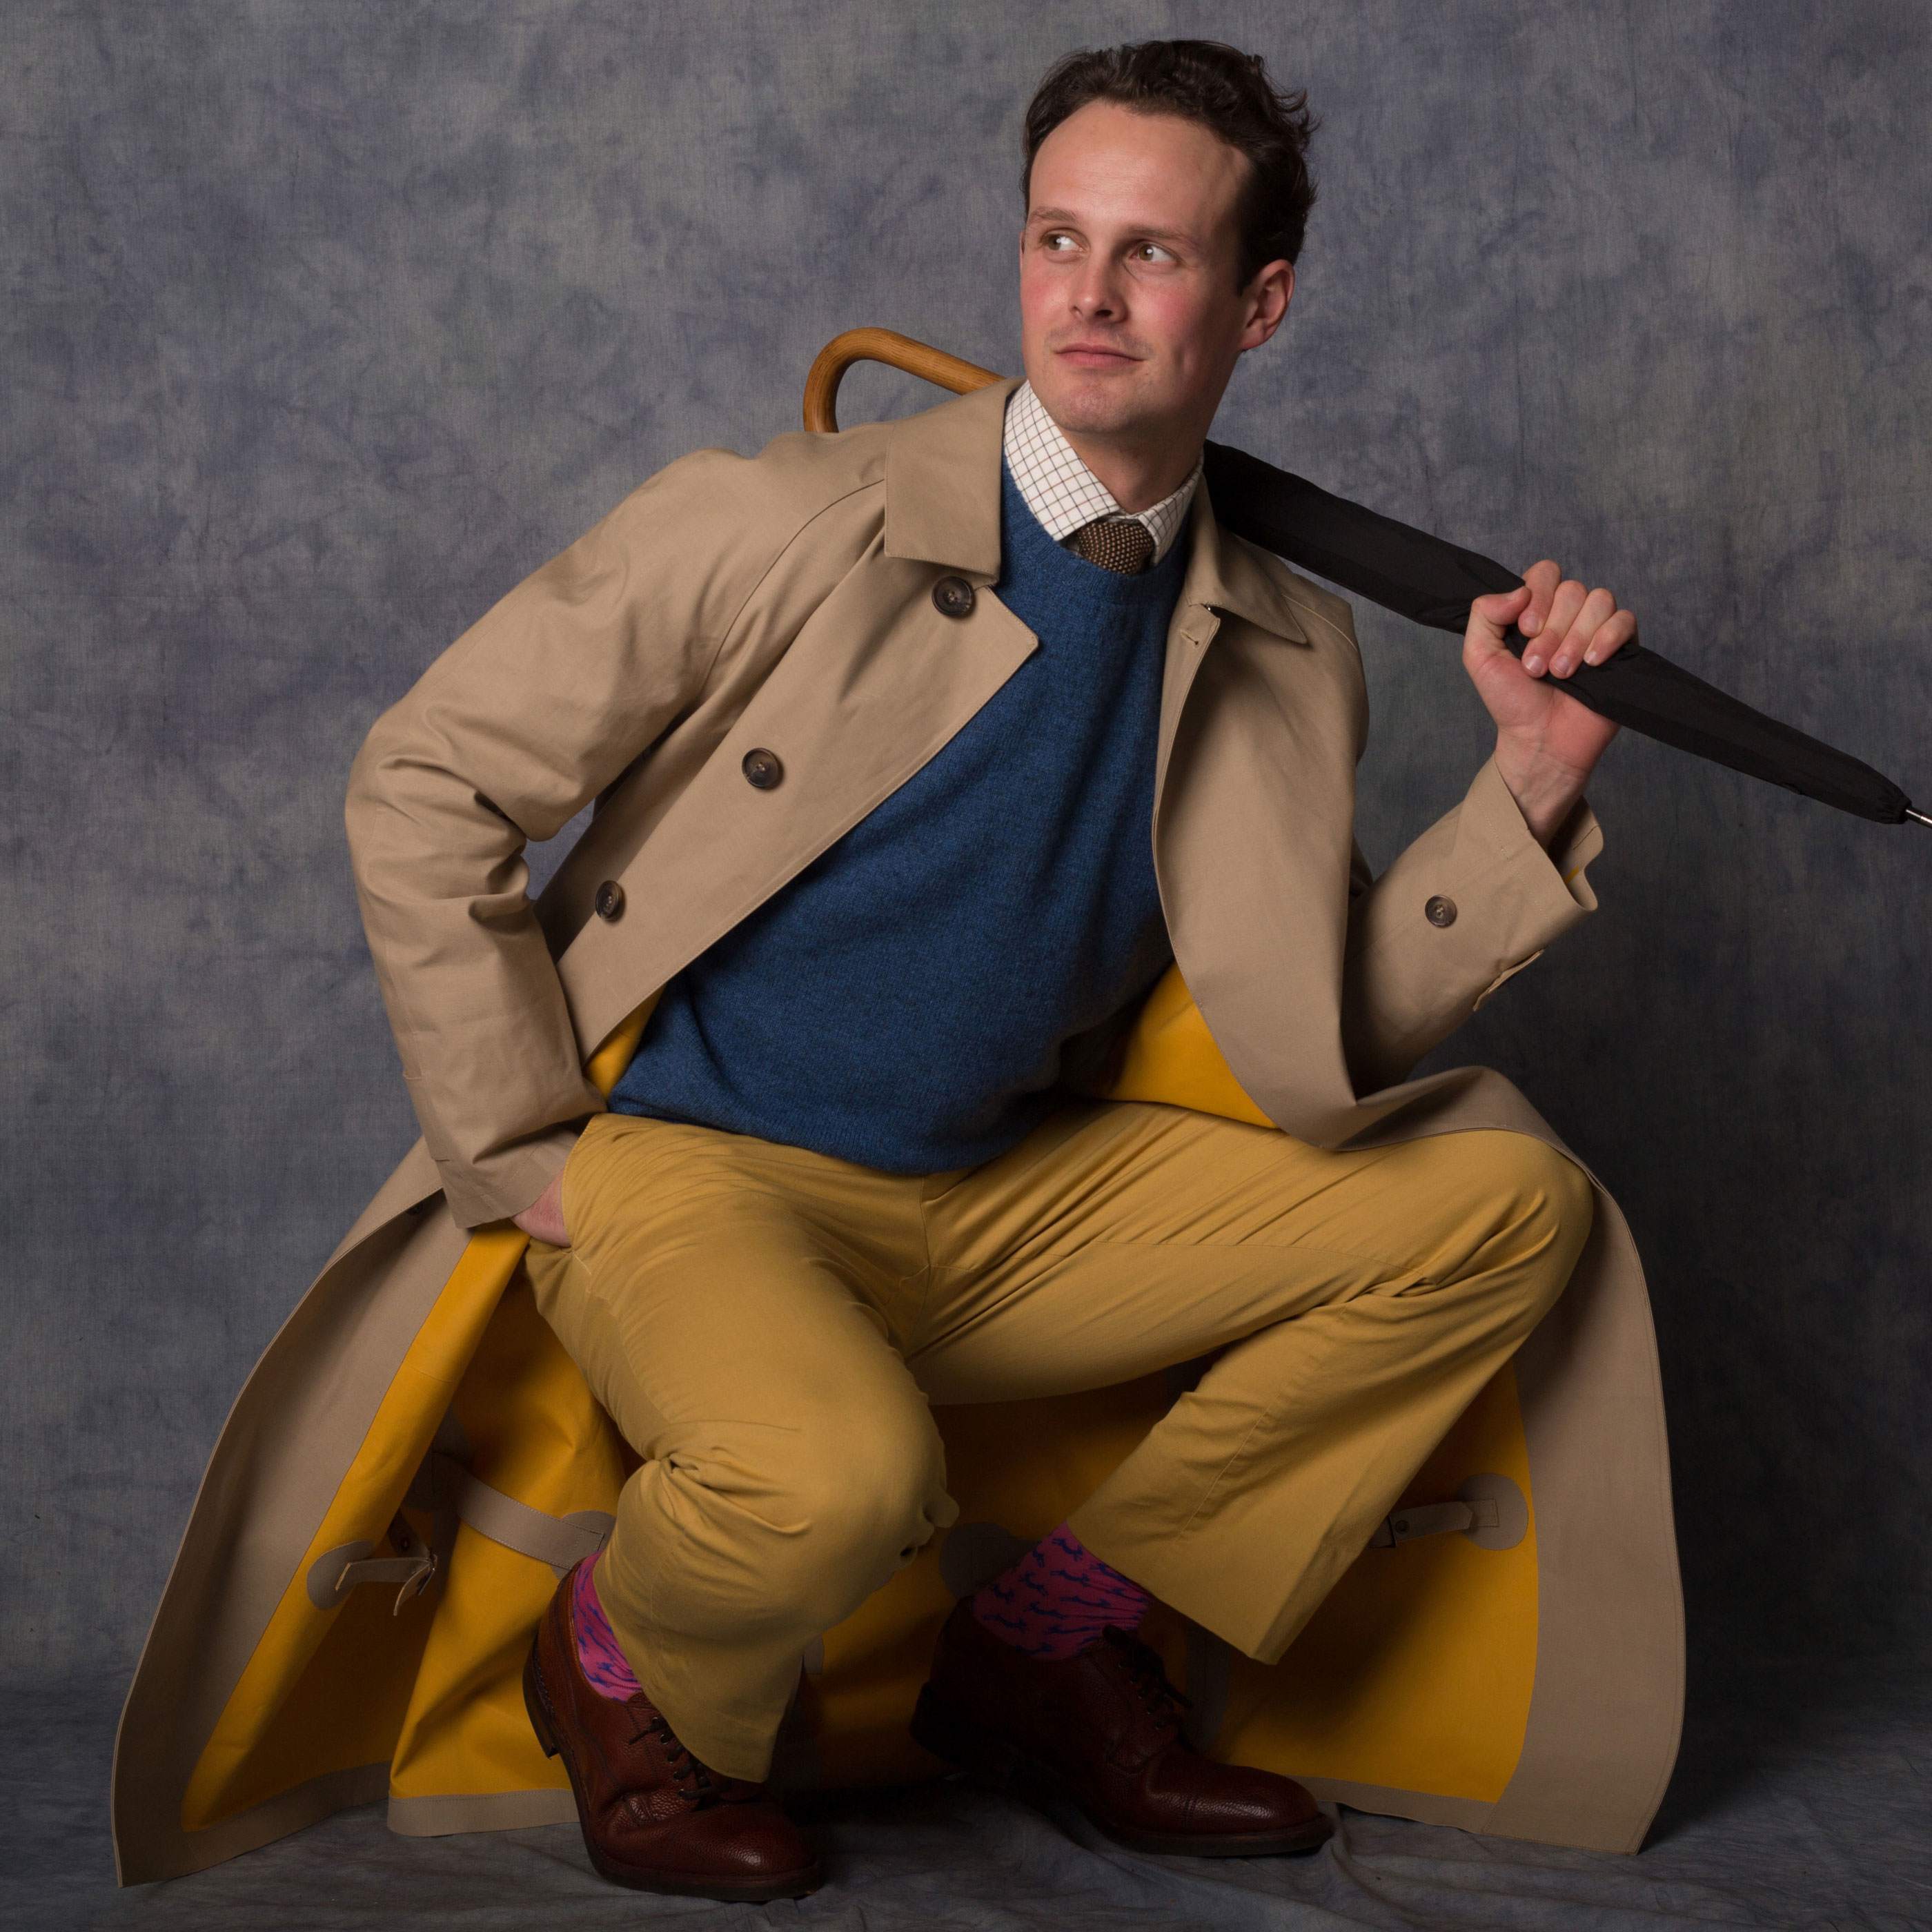
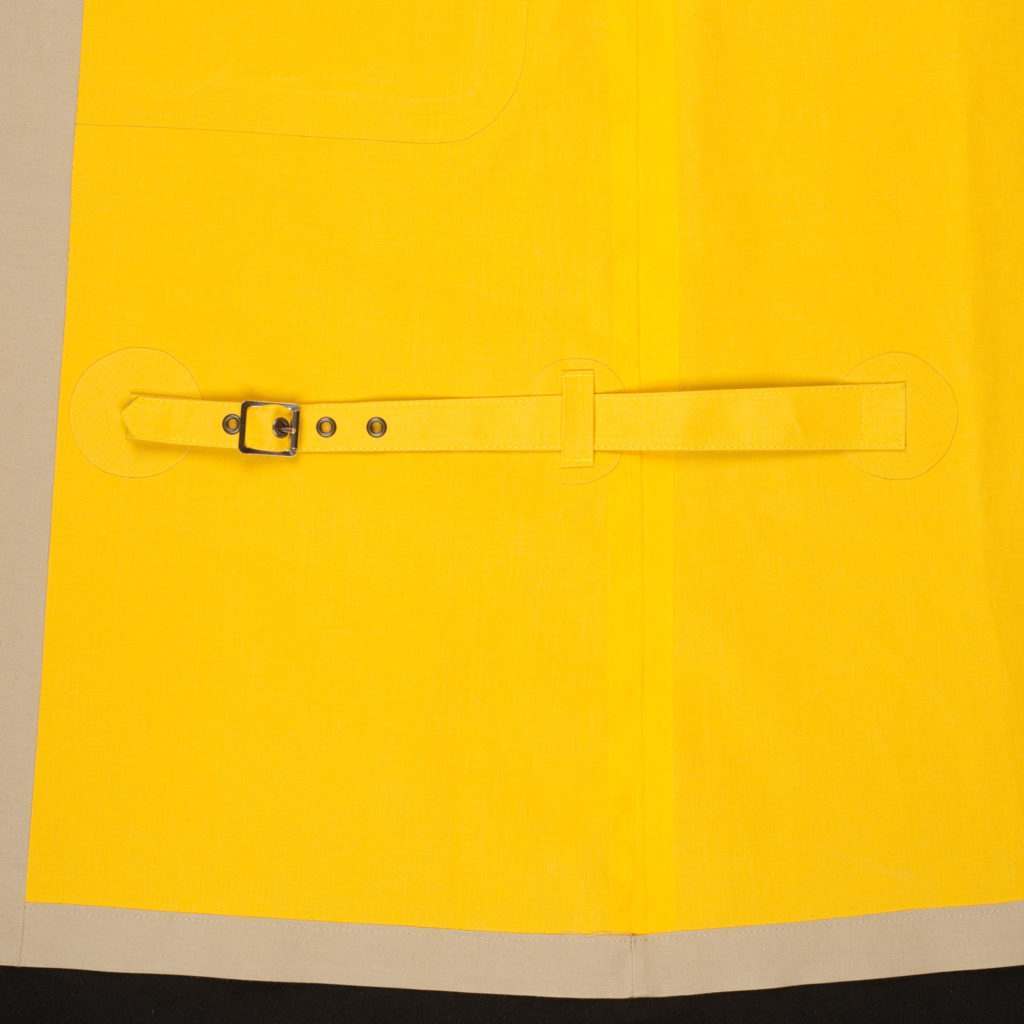
Cordings were one of the first to recognise the weatherproof advantages of rubberised cotton. They joined forces with Charles Macintosh and Thomas Hancock who had patented the vulcanisation’ process in Scotland. The famous Cordings Mackintosh was born. We are proud that the partnership flourishes to this day. The Thomas Hancock company still produces the Cordings raincoat with its dashing yellow lining, checked shoulder lining and the leg straps that in days gone by stopped the wind blowing your coat off your knees and getting wet when riding in a howling gale.
How the Cordings Mackintosh is Made
The same techniques to create the famous Cordings Mackintosh are still employed today in the Hancock factory, with five distinct processes involved in making a coat.
STEP 1: SHEARS
Tailor’s shears are used to cut by hand the specially made rubber bonded (vulcanised) cloth; a process patented by Thomas Hancock in 1843. They give great accuracy in pattern and garment cutting. The shears are used in all trim and detailed work on the Mackintosh.
STEP 2: GLUE
A specially formulated rubber solution is used to glue together and waterproof all the seams which guarantees complete protection from the harshest of weather. The Coat is made from natural rubber with a few secret ingredients, and to this day it is still made in Manchester, England, by the great grandson of the founder.
STEP 3: HAND
The index finger is the most important tool used in the hand making of the Mackintosh coat. The skills required take 3 years to learn and it must be ensured that the correct amount of rubber solution is loaded onto the finger for spreading (a process known as smearing) of all seams and hemlines.
STEP 4: TAPE
Vulcanised cotton tape is applied by hand over the glued interior seam to guarantee a fully-waterproof garment. This technique is difficult enough in itself to master, but it is even more difficult to grasp for sections of the garment such as the sides, and the shoulders as armholes require the aid of a wooden domed tailors block for support underneath the garment.
STEP 5: FINISH
Traditional tools are used to finish the garment- a roller is used by the coat maker to apply pressure along the interior taped seam to ensure the tape is firmly bonded to the glue. Then a cleaner is used to remove any excess glue that may have spread outside of the tape, producing a clean finish to the interior of the garment.
Fit for a King indeed.
Read more about our infamous Mackintosh’s construction and details.